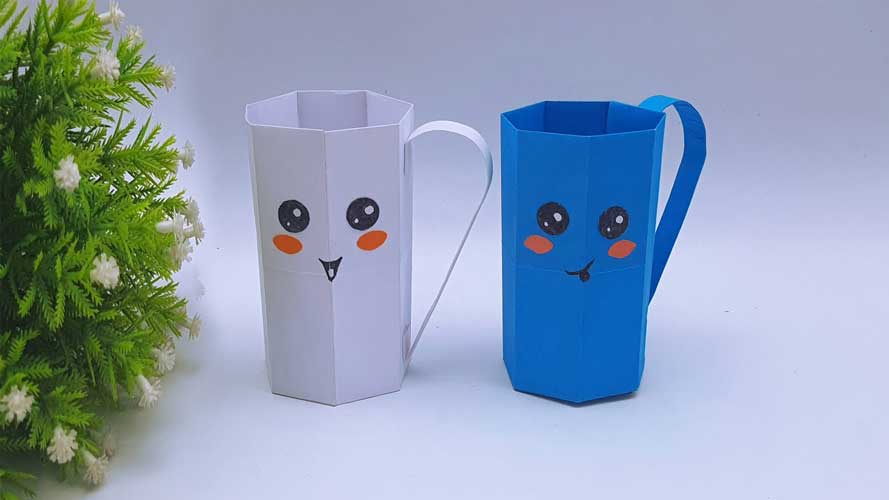
Origami is an art form that has been around for centuries. One of the most popular origami creations is the paper mug, which is not only a fun craft activity but also a practical item to use. In this guide, we will show you how to fold a paper mug with easy ideas that anyone can try.
Materials Needed:
- Square sheet of paper (preferably 15cm x 15cm or larger)
- Scissors (optional)
- Pencil (optional)
Step 1: Start with a square sheet of paper.
The first step is to choose a square sheet of paper that is at least 15cm x 15cm in size. You can use any color or type of paper, but we recommend using origami paper as it is thin and easy to fold. If you don’t have origami paper, you can use regular printer paper or any other type of thin paper.
Step 2: Fold the paper in half diagonally.
Fold the paper in half diagonally to create a triangle. Make sure to crease the fold well and then unfold the paper.
Step 3: Fold the paper in half diagonally again.
Fold the paper in half diagonally again, this time in the opposite direction. Crease the fold well and then unfold the paper. You should now have two creases that form an X on the paper.
Step 4: Fold the paper in half vertically.
Fold the paper in half vertically, bringing the two opposite corners together. Crease the fold well and then unfold the paper. You should now have two creases that form a + on the paper.
Step 5: Fold the top layer of paper down.
Take the top layer of paper and fold it down along the horizontal crease in the center. Crease the fold well and then unfold the paper.
Step 6: Fold the bottom layer of paper up.
Take the bottom layer of paper and fold it up along the horizontal crease in the center. Crease the fold well and then unfold the paper.
Step 7: Fold the left and right sides of the paper inwards.
Take the left and right sides of the paper and fold them inwards along the vertical crease in the center. Crease the folds well and then unfold the paper.
Step 8: Fold the top and bottom corners of the paper towards the center.
Take the top and bottom corners of the paper and fold them towards the center along the diagonal creases. Crease the folds well and then unfold the paper.
Step 9: Cut along the horizontal center crease.
Use scissors to cut along the horizontal center crease, stopping at the point where the diagonal creases intersect. Be careful not to cut all the way through the paper.
Step 10: Fold the paper into a mug shape.
Fold the paper into a mug shape by bringing the two cut edges together and tucking one inside the other. Crease the folds well and then unfold the paper.
Step 11: Fold the top and bottom corners of the paper towards the center again.
Repeat step 8, folding the top and bottom corners of the paper towards the center along the diagonal creases. Crease the folds well and then unfold the paper.
Step 12: Tuck the top and bottom corners of the paper into the mug.
Tuck the top and bottom corners of the paper into the mug by folding them along the diagonal creases and tucking them inside the mug. Crease the folds well and then unfold the paper.
Step 13: Repeat step 12 on the other side.
Repeat step 12 on the other side of the mug.
Step 14: Your paper mug is complete!
Congratulations


