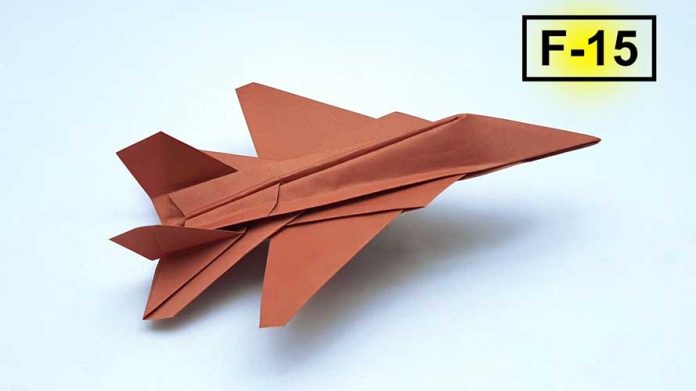
Building a paper model of an F-15 fighter jet can be a fun and rewarding project for aviation enthusiasts and hobbyists alike. With a little patience and some basic materials, you can create a detailed and accurate replica of this iconic aircraft. In this step-by-step guide, we’ll walk you through the process of building an F-15 paper model from scratch.
Step 1: Gather Your Materials
To begin, you’ll need to gather the necessary materials for your project. These include:
- A printout of the F-15 paper model template (which can be found online)
- A sharp pair of scissors
- A craft knife
- A cutting mat or another protective surface
- A ruler
- Glue or double-sided tape
- A small paintbrush (optional)
- Paints or markers (optional)
Step 2: Print and Prepare the Template
Once you have your materials ready, you can begin by printing out the F-15 paper model template. Make sure you print it on a high-quality printer and choose the best print settings available to ensure that the lines are sharp and clear.
Next, carefully cut out each of the template pieces using your scissors or craft knife. Take your time and be precise, as any mistakes at this stage can affect the final outcome of your model.
Step 3: Score and Fold the Pieces
With all the pieces cut out, it’s time to score and fold them to create the three-dimensional shape of the F-15. Use your ruler and craft knife to score along the dotted lines on each piece, being careful not to cut all the way through the paper. Then, fold along the scored lines to create sharp, clean edges.
Step 4: Glue the Pieces Together
Once you have folded all the pieces, it’s time to begin gluing them together. Start by assembling the basic shape of the aircraft, beginning with the main fuselage and wings. Use a small amount of glue or double-sided tape to hold each piece in place, being careful not to use too much and cause the paper to become warped or wrinkled.
As you continue to assemble the aircraft, pay attention to the small details and make sure each piece is aligned properly. You may need to use your craft knife to make minor adjustments to the paper as you go.
Step 5: Add the Finishing Touches
With the basic shape of the F-15 complete, you can now begin adding the finishing touches to your model. This can include details such as cockpit instruments, engine intakes, and weapons systems.
Depending on your level of skill and interest, you may also want to add some color to your model using paints or markers. This can help bring your F-15 to life and make it look more realistic.
Step 6: Display Your Model
Once you have completed your F-15 paper model, you can display it proudly for all to see. You may want to place it on a shelf or desk in your home or office, or even hang it from the ceiling using a fishing line or clear thread.
Whatever you choose, be sure to take a step back and admire your handiwork. Building a paper model of an F-15 fighter jet is no easy feat, but with patience, practice, and attention to detail, you can create a beautiful and accurate replica of this iconic aircraft.


