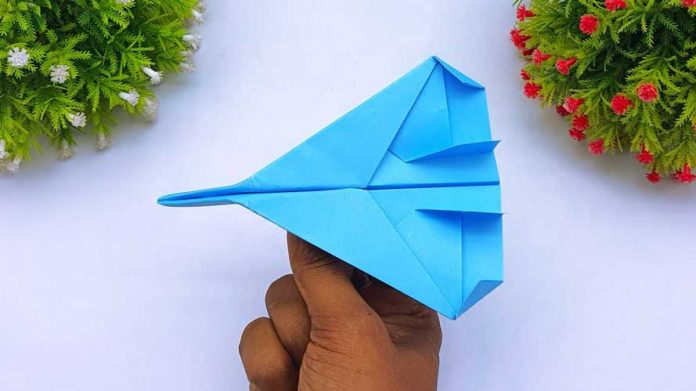
Origami, the ancient art of paper folding, offers a world of creativity and fun. One of the most popular origami designs is the paper airplane. Whether you’re a beginner or an experienced folder, learning how to fold an origami airplane is a delightful activity. In this detailed step-by-step guide, we will walk you through the process of creating your very own origami airplane. Get ready to soar to new heights!
Materials Needed:
- A square sheet of paper (preferably 8.5×8.5 inches or 20×20 cm)
- A flat and clean surface to work on
Step 1: Start with the Paper Begin by placing the square sheet of paper in front of you with the colored side facing down. Ensure that the paper is positioned in a diamond shape, with one corner pointing towards you.
Step 2: Fold in Half Fold the paper in half diagonally, bringing the top corner down to meet the bottom corner. Crease the fold well and then unfold the paper to its original position.
Step 3: Make the Triangle Base Take the left corner of the paper and fold it towards the center, aligning it with the bottom corner. Repeat this step with the right corner, bringing it towards the center as well. You should now have a smaller diamond shape with two flaps at the bottom.
Step 4: Fold the Wings Take the top layer of the left flap and fold it upwards, aligning the edge with the central crease. Repeat this step with the right flap, folding it upwards as well. The folded sections will form the wings of the airplane.
Step 5: Shape the Body Flip the paper over, so the wings are facing down. Take the bottom corner of the paper and fold it up towards the top, aligning it with the point where the wings meet the body. Crease the fold well.
Step 6: Create the Wing Flaps Hold the paper airplane from the body and gently pull down the wings, creating a slight bend. This will form the wing flaps, allowing your airplane to glide through the air more effectively.
Step 7: Test and Adjust Give your origami airplane a test flight! Adjust the wing flaps and body shape as needed to achieve optimal flight performance. Experiment with different angles and techniques to see how your airplane flies.
Conclusion:
Congratulations! You have successfully folded your own origami airplane. Through the art of paper folding, you have transformed a simple sheet of paper into a flying creation. Practice different folding techniques, explore various paper sizes, and experiment with different wing shapes to customize your airplanes.
Origami airplanes provide hours of entertainment and are perfect for indoor play or outdoor adventures. Share your newfound skills with friends and family, organize paper airplane races, or even design your own unique models.
Remember, the key to mastering origami lies in patience and practice. With each fold, you’ll refine your skills and develop your own style. Enjoy the process, embrace the joy of creation, and let your imagination take flight with origami airplanes!


