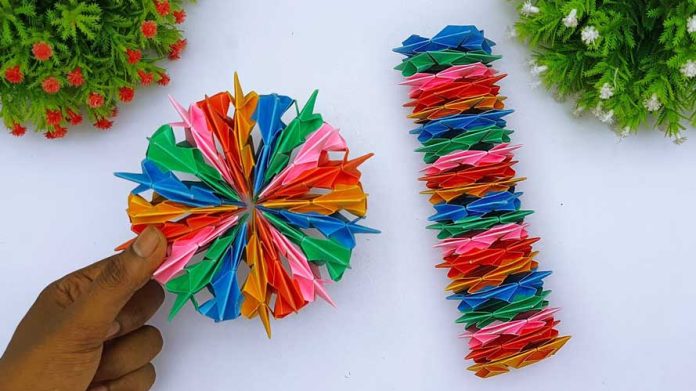
The kaleidoscope, with its mesmerizing patterns and vibrant colors, has delighted people of all ages for generations. Did you know that you can create your own kaleidoscope using simple materials and a dash of creativity? In this comprehensive step-by-step guide, we will walk you through the process of making a paper kaleidoscope. Let’s dive in and unlock the magic of this fascinating optical toy!
Materials Needed:
- Cardboard tube (e.g., from a paper towel or toilet paper roll)
- Transparent plastic or cellophane sheets in various colors
- Scissors
- Adhesive tape or glue
- Decorative materials (e.g., stickers, sequins, colored paper)
- A ruler
- Pencil or marker
- Mirrored paper or aluminum foil
- Beads, buttons, or small objects (optional, for embellishment)
Step 1: Prepare the Tube Start by measuring and cutting the cardboard tube to your desired length. A length of around 8 inches is a good starting point. Make sure the tube is clean and free from any adhesive or debris.
Step 2: Create the Viewing End On one end of the tube, trace a circle slightly larger than the diameter of the tube. Cut out the circle carefully, creating an opening. This will serve as the viewing end of the kaleidoscope.
Step 3: Prepare the Mirror System Cut a strip of mirrored paper or aluminum foil slightly longer than the circumference of the tube. Attach it to the inside of the tube, ensuring it forms a continuous reflective surface. This will create the reflective chamber of the kaleidoscope.
Step 4: Add Colorful Elements Cut several small pieces of transparent plastic or cellophane sheets in various colors. Glue or tape them to one end of the tube, covering the opening. Arrange them in a symmetrical pattern, ensuring they overlap slightly. This will be the section through which you view the kaleidoscope’s beautiful patterns.
Step 5: Decorate the Exterior Let your creativity shine by decorating the exterior of the kaleidoscope tube. Use stickers, colored paper, sequins, or any decorative materials you desire. Personalize it to reflect your unique style.
Step 6: Seal the Tube Once you’re satisfied with the decoration, seal the open end of the tube with a circular piece of cardboard or a plastic lid. Secure it firmly using glue or adhesive tape.
Step 7: Embellish (Optional) For added charm and visual interest, glue beads, buttons, or small objects to the outside of the kaleidoscope. This step is optional but can enhance the overall aesthetic appeal.
Step 8: Enjoy the Kaleidoscope Magic Hold your homemade paper kaleidoscope up to a light source and look through the viewing end. Gently rotate the tube while gazing through the colored plastic sheets. Watch in wonder as beautiful symmetrical patterns unfold before your eyes!
Conclusion:
Congratulations! You have successfully created your very own paper kaleidoscope. Through a few simple steps and a touch of creativity, you’ve unlocked the magic of this mesmerizing optical toy. Explore different color combinations, experiment with various materials, and share the joy of your kaleidoscope with friends and family.
Remember, the true beauty of a kaleidoscope lies in the limitless possibilities it offers. As you become more proficient, consider exploring different shapes, sizes, and materials to create unique kaleidoscope designs. Let your imagination soar and enjoy the enchantment of this timeless creation.


