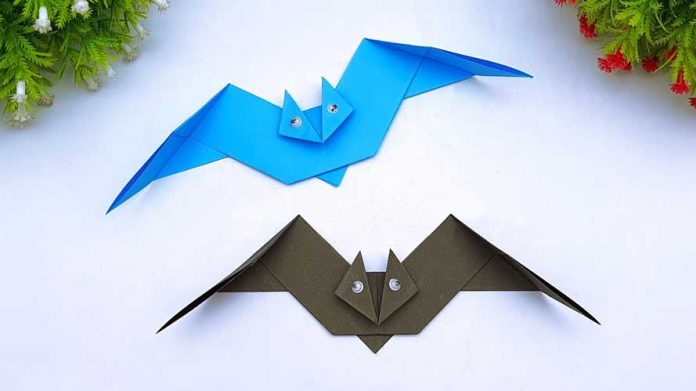
Origami, the traditional Japanese art of paper folding, offers a creative way to craft intricate shapes and designs using just a single sheet of paper. If you’re intrigued by this fascinating craft and looking to add a spooky twist to your paper-folding repertoire, why not try your hand at creating an origami bat? In this step-by-step guide, we’ll walk you through the process of folding your very own origami bat, perfect for Halloween decorations or simply as a fun project to enjoy any time of the year.
Step 1: Gather Your Materials Before you begin folding, gather the necessary materials:
- A square sheet of origami paper (black on one side, white on the other)
- A flat surface to work on
Step 2: Start With a Square Sheet of Paper Ensure your origami paper is square. If it’s not, you can easily trim it to size. Place the paper colored side down if you want a black bat or colored side up if you prefer a white bat.
Step 3: Fold Diagonally Fold the paper diagonally from one corner to the opposite corner to create a triangle. Press down firmly on the fold to make a crisp crease, then unfold the paper.
Step 4: Fold the Other Diagonal Repeat the previous step by folding the paper diagonally from the other corner to the opposite corner. Again, press down firmly and then unfold the paper.
Step 5: Fold the Top Corners Fold the top corners of the paper down to meet at the center crease. This will create a smaller triangle at the top of the larger triangle.
Step 6: Fold the Top Flap Down Take the top flap of the triangle and fold it down, aligning the edge with the bottom edge of the triangle. This will create a smaller triangle shape at the top of the larger triangle.
Step 7: Fold the Bottom Corners Fold the bottom corners of the triangle up and slightly inward, creating two small triangles on each side.
Step 8: Fold the Bottom Flap Up Fold the bottom flap of the triangle up, tucking it underneath the two small triangles created in the previous step.
Step 9: Shape the Wings Turn the paper over so that the folded side is facing down. Fold the two top corners of the triangle down and slightly outward to create the bat’s wings.
Step 10: Add Details To give your origami bat some personality, you can add details such as eyes, fangs, or ears using markers or stickers.
Step 11: Display Your Origami Bat Once you’re satisfied with your origami bat, you can display it proudly as part of your Halloween decorations, or simply as a charming addition to your home decor.
Conclusion: Congratulations! You’ve successfully folded your own origami bat. Whether you’re a beginner or an experienced paper folder, creating origami bats is a fun and rewarding activity for crafters of all ages. Experiment with different sizes and colors of paper to create a whole colony of these spooky creatures. So grab some paper and start folding – your origami bat awaits!


