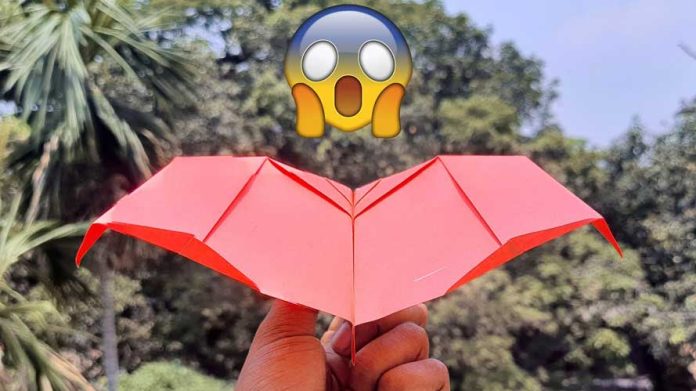
Looking for a fun and unique paper airplane design? Why not try making a paper-flapping bat airplane? This interactive creation combines the excitement of flying paper airplanes with the mesmerizing flapping motion of bat wings. In this step-by-step guide, we will explore how to make a paper-flapping bat airplane that is sure to impress both kids and adults alike. So, let’s gather our materials and get ready to take flight!
Materials Needed:
- Letter-sized (8.5×11 inches) black paper
- Scissors
- Pencil
- Ruler
- Craft glue or double-sided tape
- Clear workspace or table
Step 1: Prepare the Paper Take a sheet of black paper and lay it on a flat surface or table. Ensure that the paper is oriented in the portrait position (vertical) for this tutorial.
Step 2: Folding the Wings Measure and mark a line horizontally across the paper, approximately 1 inch from the top edge. This will serve as a guideline for folding the wings.
Starting from the left side of the paper, fold the top left corner down diagonally towards the guideline. Repeat the same fold on the right side, creating two triangular flaps.
Step 3: Folding the Body Fold the bottom edge of the paper up towards the top edge, aligning it with the base of the folded wings. This fold will create the body of the bat airplane.
Step 4: Cutting the Wing Shape Using scissors, cut along the folded edge of each wing, creating a curved wing shape. Be careful not to cut through the entire wing; leave a small portion near the body intact to maintain the wing’s connection.
Step 5: Unfolding and Shaping the Wings Gently unfold the paper, revealing the bat wings. Adjust and shape the wings by gently curving them outward. The curved shape will help create the flapping motion when the airplane is launched.
Step 6: Adding Wing Flaps To create the flapping motion, fold the curved tips of the wings downwards. These folded portions will act as the flaps that generate lift and movement as the airplane flies through the air.
Step 7: Final Touches To complete the paper-flapping bat airplane, add details such as eyes, fangs, or any other bat-like features using a pencil or markers. Get creative and customize your bat airplane’s appearance to make it truly unique.
Step 8: Launching the Bat Airplane Hold the bat airplane by the body and launch it gently into the air, allowing it to glide and flap its wings. Experiment with different launch techniques and angles to achieve the best flight and flapping motion.
Conclusion:
Creating a paper-flapping bat airplane is a fantastic way to combine the fun of paper airplane folding with the unique motion of bat wings. By following this step-by-step guide, you can easily craft your own bat airplane using black paper. Let your imagination take flight as you customize the design and watch it soar through the air with its captivating flapping wings. This project is perfect for Halloween parties, science experiments, or simply enjoying the excitement of a unique paper airplane design. So, gather your materials, follow the steps, and prepare for an entertaining and aerodynamic adventure!


