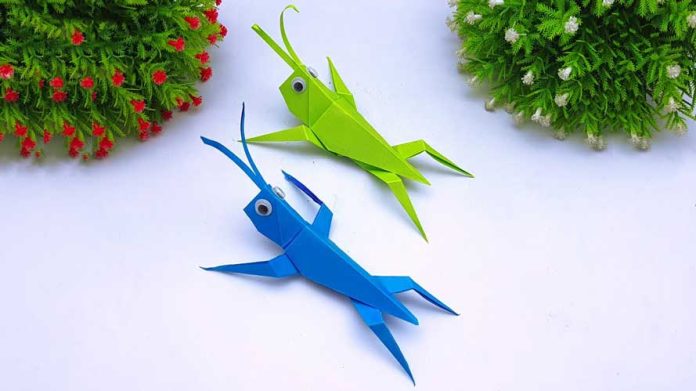
Paper crafts can be a great way to pass the time while also tapping into your creativity. If you’re looking for a fun and easy paper craft project to try, why not make a paper grasshopper? With just a few basic supplies and some simple steps, you can create a cute and colorful paper grasshopper that’s sure to bring a smile to your face.
In this step-by-step guide, we’ll walk you through the process of making a paper grasshopper from start to finish. So grab your supplies and let’s get started!
Supplies You’ll Need:
- Green construction paper
- Scissors
- Glue stick
- Black marker
- White paper
Step 1: Cut Out the Grasshopper’s Body
Begin by cutting out a rectangle of green construction paper that is approximately 4 inches wide and 8 inches long. Fold the rectangle in half lengthwise, and then use your scissors to cut a semicircle shape out of the top of the folded paper. This will create the shape of the grasshopper’s body.
Step 2: Add the Legs
Cut four thin strips of green construction paper that are approximately 1 inch long. Use your scissors to create small notches at the bottom of each strip to create the grasshopper’s feet. Next, fold each strip in half and glue them to the inside of the grasshopper’s body, near the bottom, to create the legs.
Step 3: Create the Antennae
Cut two thin strips of green construction paper that are approximately 1 inch long. Use your scissors to create a small notch at one end of each strip, and then glue the unnotched ends to the top of the grasshopper’s body, near the head, to create the antennae.
Step 4: Add the Eyes
Cut two small circles out of white paper and glue them to the grasshopper’s head. Use your black marker to draw two small dots in the center of each circle to create the eyes.
Step 5: Create the Wings
Cut out two large rectangles of green construction paper that are approximately 4 inches wide and 3 inches long. Fold each rectangle in half lengthwise and use your scissors to cut a semicircle shape out of the top of each folded rectangle. These shapes will become the grasshopper’s wings.
Step 6: Attach the Wings
Use your glue stick to attach one wing to each side of the grasshopper’s body, near the top. Make sure that the wings are angled slightly upward to give the appearance of a grasshopper in mid-jump.
Step 7: Add Some Personality
Use your black marker to draw some additional details on your grasshopper. You might add some spots or stripes, or draw a happy expression on its face.
Congratulations, you’ve now completed your paper grasshopper! This simple craft project is a great way to explore your creativity and create a fun and unique decoration for your home. Why not make a whole family of grasshoppers, each with its own unique personality? Happy crafting!


