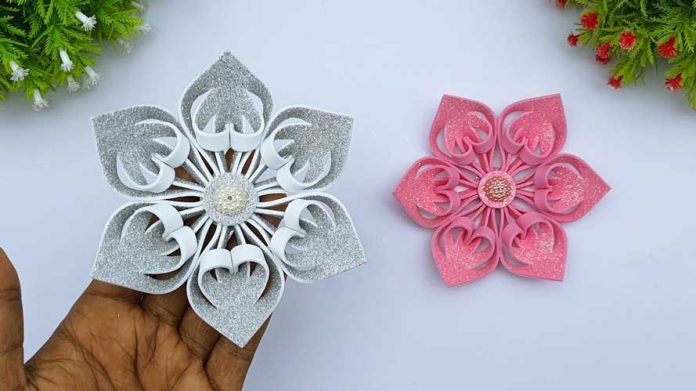
The holiday season is a time of warmth, joy, and crafting! One of the most iconic symbols of wintertime charm is the snowflake. Delicate and unique, snowflakes bring a touch of elegance to any festive setting. Creating your own Christmas snowflakes for decorations is not only a fun activity, but it also adds a personal touch to your seasonal decor. In this step-by-step guide, we’ll walk you through the process of making beautiful snowflakes that will enchant your space and make it feel like a winter wonderland.
Materials You’ll Need:
- White paper (printer paper or craft paper)
- Scissors
- Pencil
- Ruler
- Craft knife (optional)
- Cutting mat (if using a craft knife)
- Hole punch (various sizes for added detail)
- Glitter, sequins, or other embellishments
- Clear thread or fishing line
- Tape or adhesive putty
Step-by-Step Guide:
Step 1: Choosing Your Snowflake Design
Before you dive into crafting, consider the design you’d like for your snowflakes. Traditional six-pointed snowflakes are popular, but don’t be afraid to get creative with different shapes and sizes.
Step 2: Preparing Your Workspace
Set up a clean and well-lit workspace. Lay down a cutting mat if you’re using a craft knife to protect your surfaces.
Step 3: Cutting the Paper
- Begin by cutting your paper into squares. You can opt for various sizes, but 6×6 inches is a good starting point.
- If you’re not confident in your freehand cutting skills, draw your chosen snowflake design lightly with a pencil.
Step 4: Creating the Snowflake
- Fold the paper square diagonally to form a triangle.
- Fold the triangle in half to create a smaller triangle.
- Depending on your chosen design, make additional folds by bringing the corners of the triangle to the center or along the edges. Experiment with different combinations to achieve your desired look.
Step 5: Cutting the Design
- Using scissors or a craft knife carefully cut along the edges of your folded paper. Remember that the cuts you make will determine the final design of your snowflake.
- Unfold your paper gently to reveal the intricacy of your snowflake.
Step 6: Adding Embellishments
- To add a touch of sparkle, apply glue to certain areas of your snowflake and sprinkle glitter over them.
- You can also attach sequins or small beads for extra dimension and flair.
Step 7: Creating a Hanging Loop
- Punch a small hole near one of the points of your snowflake.
- Thread a clear thread or fishing line through the hole and tie a knot, creating a loop for hanging.
Step 8: Displaying Your Snowflakes
- Use tape or adhesive putty to hang your snowflakes on windows, walls, or even from the ceiling.
- Arrange them in clusters or hang them individually for a captivating effect.
Conclusion:
Making Christmas snowflakes for decorations is a delightful way to infuse your home with the magic of the holiday season. As you immerse yourself in the creative process, each unique snowflake you craft becomes a small piece of your festive story. Whether you’re crafting alone, with family, or with friends, these snowflakes will undoubtedly add a special touch to your holiday decor. So, gather your materials, let your imagination soar, and bring the enchanting beauty of snow indoors with these handmade decorations. Happy crafting and happy holidays!


