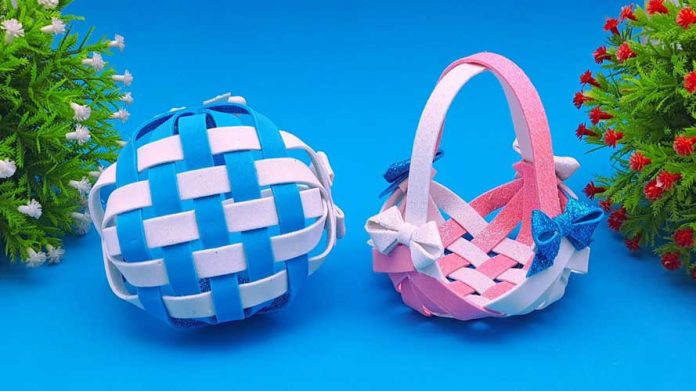
Flowers have a remarkable ability to brighten up any space with their vibrant colors and delicate beauty. And what better way to showcase their charm than with a stunning foamiran flower basket? Foamiran, a versatile material, allows you to create lifelike and long-lasting blooms that can be arranged into a beautiful floral arrangement. In this step-by-step guide, we will walk you through the process of crafting your very own foamiran flower basket. Let’s dive in and bring a touch of natural elegance into your home or event decor!
Materials Needed: To begin your foamiran flower basket project, gather the following materials:
- Foamiran sheets (in various colors)
- Basket or container of your choice
- Floral foam or oasis
- Wire cutters
- Hot glue gun and glue sticks
- Floral wire or green pipe cleaners
- Floral tape
- Scissors
- Ribbon or decorative embellishments (optional)
- Artificial leaves or greenery (optional)
Step 1: Prepare Your Workstation Create a well-lit and clutter-free workspace. Lay out all the materials and tools within reach, ensuring easy access throughout the crafting process.
Step 2: Cut Foamiran Petals Using scissors, cut out petal shapes from the foamiran sheets. You can create different sizes and shapes to mimic various flower varieties. Consider roses, daisies, or tulips for a diverse and captivating arrangement.
Step 3: Shape the Foamiran Petals To give the petals a natural appearance, gently heat them with a heat gun or hold them over a flame for a few seconds. This will make the foamiran malleable. Carefully bend and shape the petals, creating realistic curves and contours.
Step 4: Assemble the Flowers Layer the foamiran petals, starting with the largest on the bottom and gradually adding smaller petals on top. Secure the layers together using hot glue in the center. Repeat this process to create multiple foamiran flowers.
Step 5: Prepare the Basket Place the floral foam or oasis in the basket or container of your choice. Trim it to fit snugly, leaving a small gap at the top for greenery or decorative elements.
Step 6: Insert Greenery and Flowers Trim the artificial leaves or greenery to desired lengths and insert them into the foam to create a lush backdrop for your foamiran flowers. Arrange the foamiran flowers strategically, considering color combinations and heights for an eye-catching display. Use floral wire or pipe cleaners to secure the stems in place.
Step 7: Conceal the Mechanics Wrap floral tape around the base of each foamiran flower where it meets the stem. This will create a seamless transition and hide the mechanics. Additionally, cover the exposed floral foam or oasis with moss or decorative elements to give it a finished look.
Step 8: Add Finishing Touches Enhance the overall appeal of your foamiran flower basket by adding ribbon bows, decorative embellishments, or other personalized touches. This will lend a touch of elegance and sophistication to your floral arrangement.
Step 9: Display and Enjoy Place your completed foamiran flower basket in a prominent location where it can be admired. Consider using it as a centerpiece for a special event, or as a delightful addition to your home decor. Admire your handiwork and revel in the beauty of your foamiran flower creation!
Conclusion:
Crafting a foamiran flower basket allows you to unleash your creativity and bring the beauty of nature indoors. With foamiran’s flexibility and durability, you can create stunning and lifelike flowers that will last for a long time.


