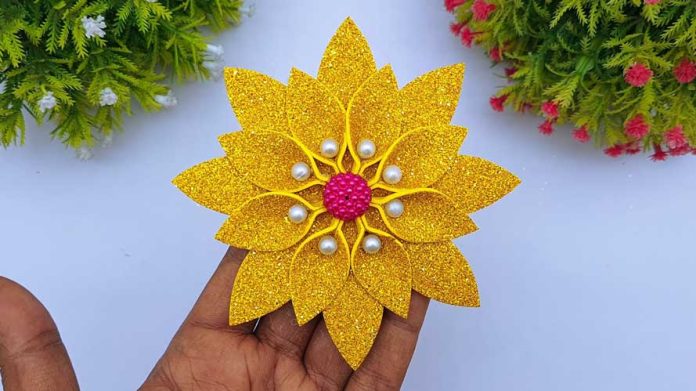
Title: DIY Wall Decoration Flower Making Ideas: A Step-by-Step Guide to Elevate Your Space
Are you looking to add a touch of freshness and charm to your living space? DIY wall decoration flower making is the perfect solution! Not only does it allow you to express your creativity, but it also brings nature’s beauty indoors. In this step-by-step guide, we’ll explore some innovative ideas to create stunning flower decorations for your walls.
- Gather Your Materials:
Before diving into the creative process, gather all the necessary materials. You’ll need:
- Colored craft paper or cardstock
- Scissors
- Glue or adhesive dots
- Pencil
- Templates (optional)
- Choose Your Flower Design:
Decide on the type of flowers you want to create. Whether it’s simple roses, elegant lilies, or vibrant sunflowers, the choice is yours. You can find numerous flower templates online or create your own. - Cut Out Your Flower Shapes:
Using the scissors, carefully cut out the flower shapes from the colored craft paper. If you’re using templates, trace the shapes onto the paper before cutting. Experiment with different sizes and colors to add depth to your design. - Create the Flower Components:
For each flower, you’ll need to cut out petals, a center, and any additional details like leaves or stems. Be creative with your designs and mix and match different shapes to make each flower unique. - Assemble Your Flowers:
Once you have all the components ready, it’s time to assemble your flowers. Start by arranging the petals around the center and glue them in place. Add any extra details like leaves or stems to complete the look. - Arrange Your Flower Display:
Before attaching the flowers to your wall, experiment with different arrangements to find the perfect layout. You can create a cluster of flowers in one corner or spread them out evenly across the wall for a balanced look. - Attach Flowers to the Wall:
Using adhesive dots or glue, carefully attach each flower to the wall. Make sure to press firmly to ensure they stay in place. If you’re worried about damaging the wall, consider using removable adhesive strips. - Add Finishing Touches:
Step back and admire your handiwork! Once the flowers are securely in place, take a moment to add any finishing touches. You can embellish them with glitter, sequins, or even paint for an extra pop of color. - Enjoy Your Floral Masterpiece:
Now that your DIY wall decoration flower making project is complete, take a step back and enjoy the beauty you’ve created. Your unique floral display will add a touch of elegance and personality to any room. - Maintenance Tips:
To keep your flower decorations looking fresh, gently dust them periodically. If any petals or components become loose, simply reattach them with a bit of glue. With proper care, your DIY floral wall decorations will continue to brighten up your space for months to come.
In conclusion, DIY wall decoration flower making is a fun and rewarding way to add a personalized touch to your home decor. By following these step-by-step instructions, you can create stunning floral displays that will impress your guests and bring joy to your everyday life. So, roll up your sleeves, unleash your creativity, and let your walls bloom with beauty!


