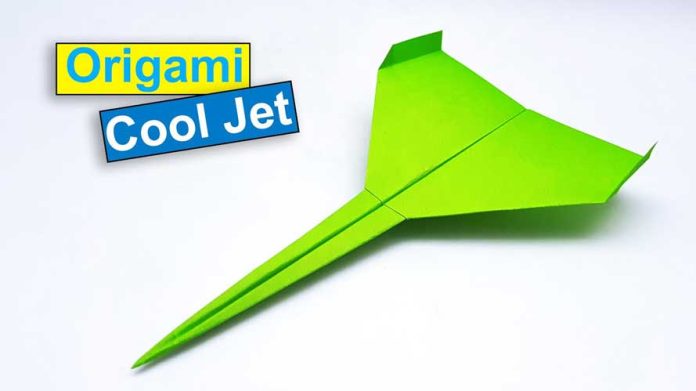
Are you ready to unleash your inner aviator and create a paper airplane that soars through the air with grace and distance? Look no further! In this comprehensive guide, we will take you through each step of crafting an easy paper airplane that will fly far and impress everyone around you. Get ready to become a skilled paper pilot as we delve into the art of making a high-flying paper airplane.
Materials Needed: Before we embark on our journey, gather the following materials:
- A sheet of letter-sized paper (8.5 x 11 inches)
- Scissors
- Ruler
- Pencil
- Markers (optional)
Step 1: Paper Preparation Start by selecting a clean, crisp sheet of letter-sized paper. A standard printer paper or lightweight cardstock works best. Smooth out any creases or wrinkles to ensure optimal aerodynamics.
Step 2: Folding the Wings Lay the paper flat on a clean surface with a shorter edge facing you. Measure approximately 2 inches from the top right corner along the longer edge and make a small pencil mark. Repeat this step in the top left corner. Connect these marks to form a diagonal line, and then cut along the line to remove the excess paper. The remaining shape should resemble an elongated triangle. These will be the wings of your paper airplane.
Step 3: Forming the Body With the paper still oriented in the landscape position, take the bottom edge and fold it up, aligning it with the bottom edge of the triangle wings. This fold will create the body of your paper airplane. Press firmly along the fold to create a crisp edge.
Step 4: Wing Flaps Gently lift each wing of the paper airplane and fold it down at a slight angle. Aim for a 30 to 45-degree angle. These wing flaps will help stabilize the flight and increase the distance your paper airplane can cover.
Step 5: Adjusting the Tail At the back of the paper airplane, fold a small portion of the bottom upwards, forming a tail. This tail will balance the airplane during flight. The size of the tail can be adjusted based on the desired stability and flight characteristics.
Step 6: Decorate (Optional) Unleash your creativity by adding personal touches to your paper airplane. Use markers to draw designs, add colors, or personalize it with your name. This step is entirely optional but can enhance the visual appeal of your paper airplane.
Step 7: Test Flight Head to an open, spacious area, preferably outdoors or in a large indoor space. Hold your paper airplane at the center of the body and give it a gentle toss forward. Observe its flight path, adjust the wing flaps or tail as needed, and repeat the test flights until you achieve the desired distance and stability.
Conclusion:
Congratulations, you’ve now mastered the art of creating an easy paper airplane that flies far! By following this step-by-step guide, you have gained the skills to craft a well-balanced and aerodynamic paper airplane. Remember to experiment with different wing angles, tail sizes, and decorations to find your perfect design. So, gather your materials, fold with precision, and enjoy the exhilaration of watching your paper airplane soar through the sky. Get ready to impress your friends and become the champion of paper aviation!


