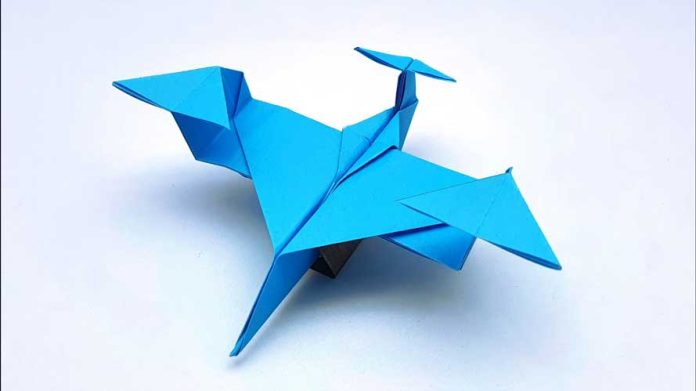
If you’re looking for a fun and simple craft project that combines creativity with a bit of science, making an easy paper helicopter is the perfect choice. This engaging activity is not only enjoyable to create but also provides an opportunity to learn about the basic principles of flight. In this step-by-step guide, we’ll walk you through the process of making a paper helicopter that can glide and spin through the air.
Materials Needed:
- A square piece of paper (any size)
- Scissors
- Pencil
- Paperclip
- Tape (optional)
Step 1: Gather Your Materials: Collect a square piece of paper, a pair of scissors, a pencil, and a paperclip. You can use origami paper, colored paper, or even plain printer paper for this craft.
Step 2: Create the Base: Place the square piece of paper on a flat surface. Fold it in half diagonally to form a triangle. Crease the fold well and then unfold the paper to reveal the crease.
Step 3: Fold the Corners: Fold each of the triangle’s corners towards the center, so they meet at the crease you made in the previous step. You’ll now have a smaller square shape with triangular flaps pointing outward.
Step 4: Fold the Flaps: Fold each of the triangular flaps inward along the crease lines, making sure they are aligned with the square shape you created.
Step 5: Create the Helicopter Blades: Now, flip the paper over to the other side. You’ll see two triangular flaps. Fold each of these flaps upwards along the center crease, creating two wings that stick out from the top.
Step 6: Attach the Paperclip: At the bottom of the paper helicopter, you’ll find a small triangle where the folds meet. Attach a paperclip to this triangle. The paperclip acts as a weight, allowing the helicopter to spin as it falls.
Step 7: Test the Helicopter: Hold your paper helicopter by the paperclip and give it a gentle toss into the air. Observe as it gracefully spins and glides downward. You can also experiment with different angles and toss strengths to see how it affects the helicopter’s flight.
Step 8: Customize and Decorate (Optional): Get creative and add your personal touch to the paper helicopter. You can color the paper before folding, add patterns, or even draw designs on the wings to make your helicopter unique.
Step 9: Explore and Learn: Take some time to experiment with the paper helicopter’s flight. Observe how the weight of the paperclip affects its movement, and try launching it from different heights and angles. This simple activity can offer insights into the principles of gravity and air resistance.
Step 10: Share the Fun: Now that you’ve mastered the art of making an easy paper helicopter, consider sharing the experience with friends, family, or even in educational settings. Encourage others to create their own helicopters and engage in friendly flying competitions.
Conclusion: Creating an easy paper helicopter is a delightful blend of creativity and science that can be enjoyed by people of all ages. This craft project not only offers a hands-on experience but also fosters curiosity about flight and aerodynamics. So, gather your materials, follow the steps, and embark on an exciting journey of crafting and learning as you launch your paper helicopter into the skies!


