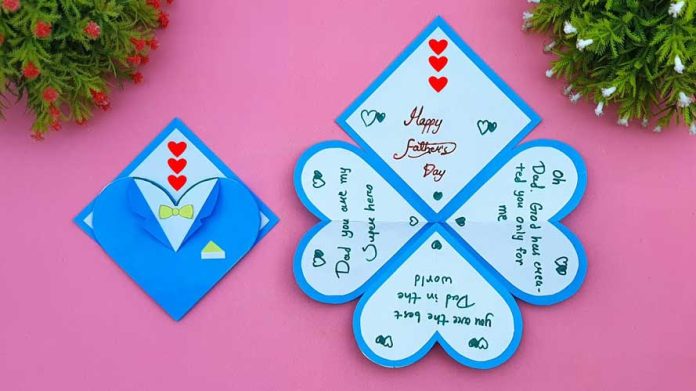
If you’re looking for a unique and creative way to present a small gift, why not make a paper gift car? This DIY project is fun, customizable, and adds a personal touch to your gift-giving. In this guide, we’ll show you how to make a paper gift car step by step. It’s an engaging activity that’s perfect for all ages and can be a wonderful craft to do with kids.
Materials Needed:
- Colored cardstock or thick paper
- Scissors
- Ruler
- Pencil
- Glue or double-sided tape
- Markers or pens
- Decorative stickers or embellishments (optional)
- Small gift item (like a piece of jewelry, candy, or a small toy)
Step 1: Gather Your Materials
Before you begin, gather all the necessary materials. Choose cardstock in your preferred colors for the body of the car and any decorations. Thicker paper will make the car more sturdy and durable.
Step 2: Draw and Cut Out the Car Body
- Draw the Car Body:
- On a piece of cardstock, use a ruler and pencil to draw the outline of a car. Start with a rectangle measuring approximately 8 inches by 4 inches for the main body.
- Draw two small rectangles (about 1 inch by 4 inches) extending from the longer sides of the main rectangle for the sides of the car.
- Add two small squares (1 inch by 1 inch) at each corner of the main rectangle. These will form the flaps for gluing.
- Cut Out the Car Body:
- Carefully cut out the entire shape, including the small rectangles and squares.
Step 3: Fold the Car Body
- Score the Lines:
- Use the ruler and pencil to score along the lines where the rectangles and squares meet the main body. This will make folding easier and neater.
- Fold the Flaps:
- Fold the small squares inward to create the flaps. These will be used to glue the sides of the car together.
- Fold the Sides:
- Fold the longer rectangles upward to form the sides of the car.
Step 4: Assemble the Car Body
- Glue the Flaps:
- Apply glue or double-sided tape to the flaps.
- Press the flaps against the inside of the longer rectangles to form the sides of the car. Hold until the glue is set.
- Shape the Car:
- Ensure the sides are securely attached and the car body is taking shape. You should now have a basic box shape with sides.
Step 5: Add Wheels and Details
- Draw and Cut Wheels:
- Draw four circles (each about 1 inch in diameter) on a piece of black cardstock for the wheels.
- Cut out the circles.
- Attach the Wheels:
- Glue the wheels to the sides of the car body, two on each side.
- Decorate the Car:
- Use markers, pens, or stickers to add details to the car. You can draw windows, doors, headlights, and any other features you like.
- Add any additional embellishments, such as stripes, numbers, or a personalized message.
Step 6: Place the Gift Inside
- Open the Top:
- If you’ve designed the car with a removable roof, open the top to place the small gift inside.
- If the car is a solid box, place the gift inside before fully assembling the car body.
- Secure the Gift:
- Ensure the gift is securely placed inside the car. You can add a small piece of tissue paper to keep it from moving around.
Step 7: Final Touches
- Check the Car:
- Make sure all parts of the car are securely glued and the decorations are in place.
- Make any final adjustments to the design or decorations.
- Present the Gift:
- Your paper gift car is now ready! Present it to the recipient and enjoy their delighted reaction.
Conclusion
Making a paper gift car is a delightful and creative way to present a small gift. This DIY project is simple, fun, and allows for plenty of customization to suit the recipient’s tastes. By following this How To Make Paper Gift Car tutorial, you can create a unique and memorable gift that adds a personal touch to your gift-giving.
So gather your materials, get creative, and start crafting your paper gift car today. Happy crafting!


