


Looking for a fun and easy DIY project to do with the kids or to relieve stress? Look no further than these easy paper toy ideas! With just a few basic materials and a little creativity, you can make everything from cute animals to cool vehicles using nothing but paper. Whether you’re a seasoned crafter or a beginner, these ideas are sure to provide hours of entertainment and satisfaction. So grab some paper, scissors, and glue, and let’s get crafting!
1. DIY Origami Paper Craft | How To Make Easy Paper Toy Ideas
Making paper toys is a great way to spend some quality time with your children or simply to indulge in a fun and creative activity on your own. Paper toys can range from simple and easy to complex and intricate designs, depending on your skill level and the materials you have available. In this step-by-step guide, we will explore some easy ideas for making paper toys that you can enjoy with your family and friends.
Step 1: Choose your materials
The first step in making paper toys is to choose the right materials. You will need some basic supplies, such as paper, scissors, and glue. For most paper toy projects, you can use standard printer paper or construction paper. However, you can also experiment with different types of paper, such as origami paper, patterned paper, or even recycled paper.
In addition to paper, you may also need other materials depending on the project you choose. For example, some paper toys may require string, beads, or other small items for decoration.
Step 2: Choose your design
Once you have your materials ready, it’s time to choose your design. There are many easy paper toy ideas that you can try, ranging from simply folded animals to pop-up cards and paper dolls.
One easy idea is to make paper airplanes. To make a basic paper airplane, simply fold a rectangular piece of paper in half lengthwise, then fold down the two top corners to form a triangle. Next, fold the top of the triangle down to meet the bottom edge of the paper. Finally, fold the wings down on either side to create the airplane shape.
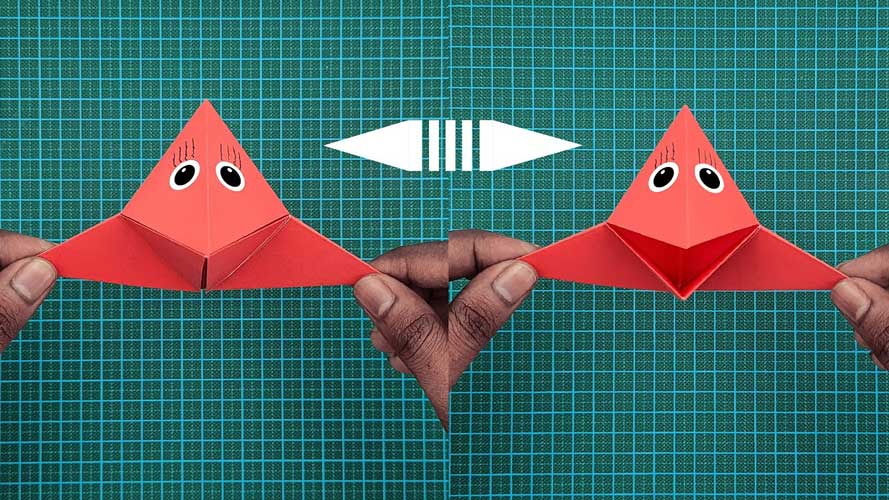
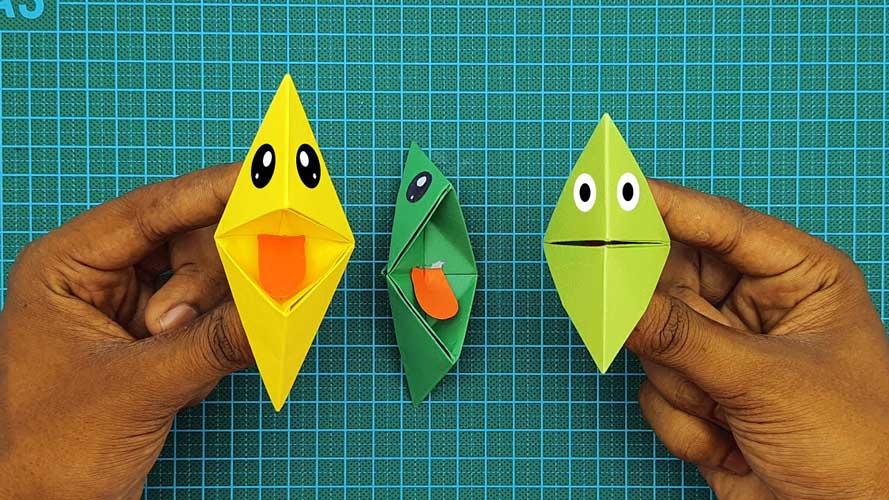
Another easy idea is to make origami animals. Origami is the art of folding paper into various shapes and figures. To make an origami animal, you can start with a simple design, such as a crane or a frog, and then work your way up to more complex designs as you gain experience.
Step 3: Follow the instructions
Once you have chosen your design, it’s time to start making your paper toy. The best way to do this is to follow the instructions carefully. If you are using a template or a tutorial, make sure to read through the instructions thoroughly before you begin.
For example, if you are making a paper airplane, you will need to follow the folding instructions carefully to ensure that the airplane flies properly. If you are making an origami animal, you will need to pay attention to the folding sequence to create the right shape.
Step 4: Decorate your paper toy
Once you have completed your paper toy, it’s time to add some decoration. This can be as simple or as complex as you like. For example, you can use markers or crayons to color your paper toy, or you can add stickers, sequins, or glitter to make it sparkle.
If you are making a pop-up card or a paper doll, you can add clothes or other accessories to make it more interesting. You can also add details, such as eyes or a mouth, to give your paper toy a personality.
Step 5: Play with your paper toy
Finally, it’s time to play with your paper toy! Whether you have made a paper airplane, an origami animal, or a pop-up card, you can enjoy your creation and have fun with it. You can fly your paper airplane, play with your paper doll, or send your pop-up card to a friend.
Making paper toys is a fun and easy activity that anyone can enjoy. With these simple steps, you can create a variety of paper toys that will provide hours of entertainment and creativity. So gather your materials, choose your design, and start making paper toys today!
2. How To Make Easy Moving Paper Toys | Origami Toy-Making Ideas
Making moving paper toys can be a fun and engaging activity for children and adults alike. With a few simple materials and a little creativity, you can create a variety of moving paper toys that will delight and entertain you. In this step-by-step guide, we will explore some easy ideas for making moving paper toys.
Step 1: Choose your materials
To make moving paper toys, you will need some basic supplies, such as paper, scissors, glue, and tape. You may also need some additional materials, such as straws, toothpicks, or string, depending on the design of your paper toy.
For the paper, you can use standard printer paper, construction paper, or even recycled paper. You can also experiment with different colors or patterns to make your paper toy more visually interesting.
Step 2: Choose your design
There are many different designs for moving paper toys that you can try. One simple idea is to make a paper spinner. To make a paper spinner, cut a circle out of paper and then cut a smaller circle in the center. Decorate the circle with markers or colored pencils, then attach a piece of string or yarn to the center of the circle. Hold onto the string and spin the circle to create a colorful spinning toy.
Another easy idea is to make a paper windmill. To make a windmill, cut a square out of paper and then cut diagonal lines from each corner towards the center. Fold every other corner towards the center and secure them with a pushpin or a paperclip. Finally, attach a straw to the back of the windmill using tape and then blow on the straw to make the windmill spin.
Step 3: Follow the instructions
Once you have chosen your design, it’s time to start making your moving paper toy. If you are using a tutorial or template, make sure to read through the instructions carefully before you begin.
For example, if you are making a paper spinner, you will need to cut out the circle and decorate it first. Then you will need to attach a piece of string to the center of the circle and secure it in place. Finally, hold onto the string and spin the circle to make the spinner move.
If you are making a windmill, you will need to cut the square and diagonal lines first, then fold the corners and secure them with a pushpin or a paperclip. You will also need to attach a straw to the back of the windmill using tape, and then blow on the straw to make the windmill spin.
Step 4: Decorate your moving paper toy
Once you have completed your moving paper toy, it’s time to add some decoration. You can use markers, colored pencils, or crayons to decorate your paper toy and make it more visually appealing. You can also add stickers or other decorations to make it more interesting.
Step 5: Play with your moving paper toy
Finally, it’s time to play with your moving paper toy! Whether you have made a paper spinner, a windmill, or another moving paper toy, you can enjoy your creation and have fun with it. You can spin your paper spinner, blow on your windmill, or create your own game using your moving paper toy.
Making moving paper toys is a simple and enjoyable activity that can be done with children of all ages. With these simple steps, you can create a variety of moving paper toys that will provide hours of entertainment and creativity. So gather your materials, choose your design, and start making your own moving paper toys today!
3. How To Make Sci-Fi Spacecraft With Paper – DIY Paper Toy
Creating sci-fi spacecraft with paper is a great way to let your imagination run wild and create your very own futuristic world. This DIY project is perfect for science fiction enthusiasts and those looking to get creative. In this step-by-step guide, we will show you how to make a sci-fi spacecraft using paper.
Materials Required: To make a sci-fi spacecraft with paper, you’ll need the following materials:
- Cardstock or thick paper
- Scissors
- Glue
- Ruler
- Pencil
- Black marker
- Paint (optional)
Step-by-Step Guide:
Step 1: Designing Your Spacecraft The first step in creating your sci-fi spacecraft is to design it. Using a pencil and paper, sketch out your spacecraft design. Consider the size, shape, and features you want your spacecraft to have. Once you have your design sketched out, use a ruler to measure the dimensions of each part of the spacecraft. Make a note of these measurements on your sketch.
Step 2: Cutting Out the Spacecraft Using your sketch as a guide, cut out each piece of your spacecraft from the cardstock or thick paper. Make sure to cut out the shapes precisely, as this will impact how well your spacecraft holds together.
Step 3: Assembling the Spacecraft Using glue, carefully assemble each piece of your spacecraft. Make sure to follow your sketch and the measurements you noted to ensure that everything fits together properly. Allow the glue to dry completely before moving on to the next step.
Step 4: Adding Details Using a black marker, add details to your spacecraft. Draw lines, shapes, and patterns to make your spacecraft look more futuristic and high-tech. You can also add color using paint or markers if you wish.
Step 5: Adding the Finishing Touches Once you have added all of the details you want, take a step back and look at your spacecraft. If there are any areas that need additional glue or reinforcement, add it now. Make sure that all of the pieces are securely fastened together.
Step 6: Displaying Your Spacecraft Now that your sci-fi spacecraft is complete, it’s time to display it proudly! You can place it on a shelf, hang it from the ceiling, or even attach it to a mobile. Get creative and find the perfect spot to showcase your creation.
Making a sci-fi spacecraft with paper is a fun and creative DIY project that anyone can do. With just a few basic materials and a little bit of imagination, you can create your very own futuristic world. Use your spacecraft as inspiration for other sci-fi creations, or create an entire fleet of spacecraft to fill your imaginary universe. So grab your materials, follow these simple steps, and start creating your own sci-fi spacecraft today!
4. DIY Crazy Toy Lizard Making Ideas | How To Make Paper Toy Lizard Step By Step
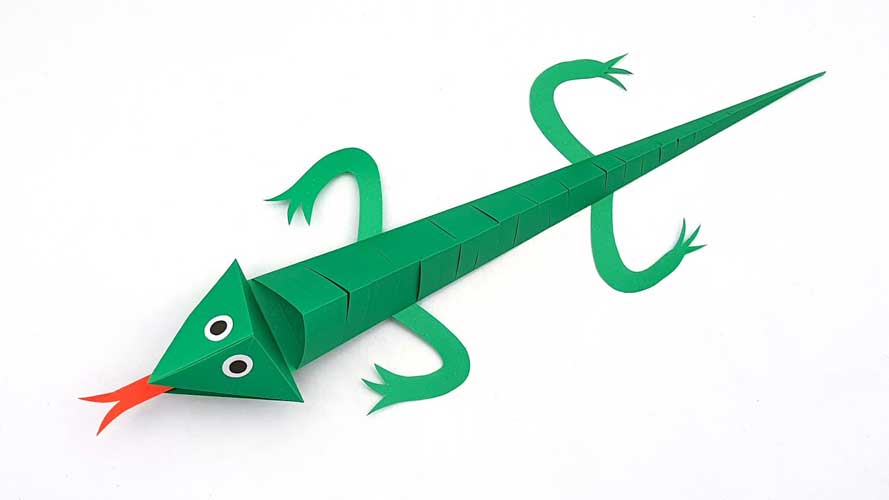
Lizards are fascinating creatures that capture the imagination of many people. Creating your own toy lizard can be a fun and rewarding project that can be enjoyed by both children and adults alike. In this step-by-step guide, we will explore some easy DIY crazy toy lizard-making ideas that will spark your creativity and bring a smile to your face.
Step 1: Gather Your Materials
Before you start making your DIY crazy toy lizard, you will need to gather your materials. Here are some materials you will need:
- Polymer clay
- Paints or markers
- Wire
- Beads
- Glue
- Scissors
- Paintbrush
Step 2: Create the Body
Start by creating the body of your toy lizard. Roll out some polymer clay and shape it into a lizard’s body. Use your hands to shape the clay into the desired shape, and use a small tool to create the lizard’s scales.
Step 3: Add the Legs and Tail
Next, create the legs and tail of your toy lizard. Cut some wire into the desired lengths, and shape them into the legs and tail of your lizard. Use the clay to attach the legs and tail to the body.
Step 4: Create the Head
Once the body, legs, and tail are complete, create the head of your toy lizard. Roll out a small piece of polymer clay and shape it into the head. Use a tool to create the eyes, nostrils, and mouth. Attach the head to the body of the lizard.
Step 5: Add the Finishing Touches
Now it’s time to add the finishing touches to your toy lizard. Use beads to create the eyes of your lizard. You can also add a tongue using some wire and polymer clay. Once you’re happy with the look of your toy lizard, bake it in the oven according to the instructions on the polymer clay packaging.
Step 6: Paint or Color
After your toy lizard is baked and cooled, it’s time to paint or color it. Use paints or markers to add color and detail to your lizard. You can choose to make your lizard look realistic or give it a more whimsical and crazy look.
Step 7: Enjoy Your Crazy Toy Lizard!
Once your DIY crazy toy lizard is complete, it’s time to enjoy it! Your toy lizard can be used for play or display. You can also use it as a decoration for your room or as a gift for a friend or family member who loves lizards.
Creating your own DIY crazy toy lizard can be a fun and rewarding project. With some polymer clay, wire, beads, and a little creativity, you can make a unique and whimsical toy lizard that will delight both children and adults alike. So go ahead and give it a try, and let your imagination run wild!
5. How To Make Moving Paper Train | Easy And Simple Paper Crafts Train Making Tutorial
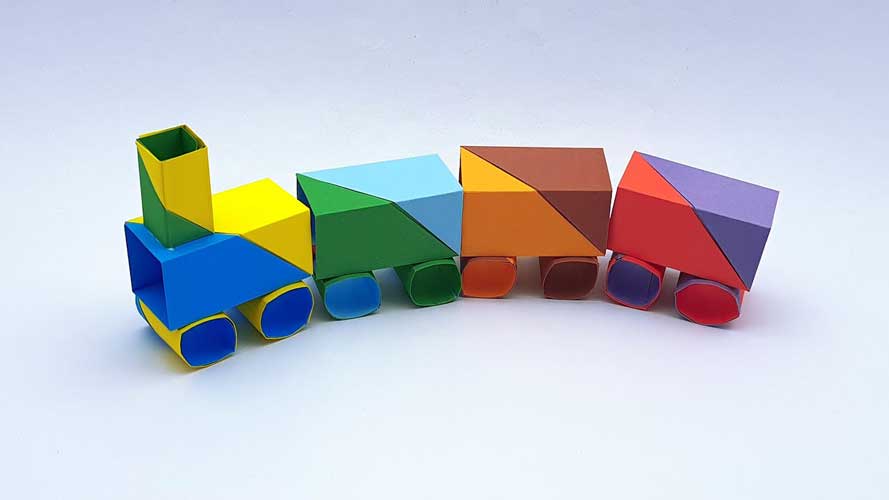
Paper crafts are an excellent way to unwind and unleash your creativity. Making a moving paper train is a fun and easy DIY project that is perfect for kids and adults alike. In this step-by-step guide, we’ll walk you through the process of making your very own moving paper train.
Materials Required: To make a moving paper train, you’ll need the following materials:
- Colored paper (at least 3 different colors)
- Scissors
- Glue
- Ruler
- Pencil
- Black marker
- 4 bottle caps
- String
Step-by-Step Guide:
Step 1: Making the Train Engine make the train engine, take a sheet of colored paper, and fold it in half. Cut along the folded line to create two equal halves. One half will be used for the engine, and the other half will be used for the carriage.
Step 2: Creating the Engine Body Take one half of the paper and fold it in half again. Draw the shape of the train engine on the folded side of the paper. Make sure to include the smokestack, windows, and wheels in your design. Once you have drawn the outline, cut along the lines with a pair of scissors.
Step 3: Adding Details Unfold the paper and add details to the engine with a black marker. Draw the engine’s windows, smokestack, and other features. Fold the paper back in half, along the original fold line.
Step 4: Creating the Wheels To create the wheels, take four bottle caps and glue them to the bottom of the engine. Make sure the bottle caps are evenly spaced and aligned.
Step 5: Creating the Carriage To create the carriage, take the second half of the paper and fold it in half. Cut along the folded line to create two equal halves. Take one half and fold it in half again. Draw the outline of the carriage on the folded side of the paper. Cut along the lines with a pair of scissors.
Step 6: Adding Details to the Carriage Unfold the paper and add details to the carriage with a black marker. Draw the windows, doors, and other features.
Step 7: Joining the Engine and Carriage To join the engine and carriage, fold the bottom of the engine and the top of the carriage by 1/4 inch. Glue the two parts together, making sure they are aligned.
Step 8: Adding String Take a piece of string and tie it to the front of the train engine. Attach the other end of the string to a pencil or any other object. Wind up the pencil to create tension in the string.
Step 9: Enjoying Your Moving Paper Train Pull the string to make the paper train move. Watch as it chugs along, just like a real train!
Making a moving paper train is a fun and easy DIY project that is perfect for kids and adults alike. With just a few basic materials and a little bit of creativity, you can make your own train that moves. Use your imagination to create different designs and colors for your train. You can even make multiple carriages and connect them to the engine for a long train. So, gather your supplies, follow these simple steps, and start making your own moving paper train today!


