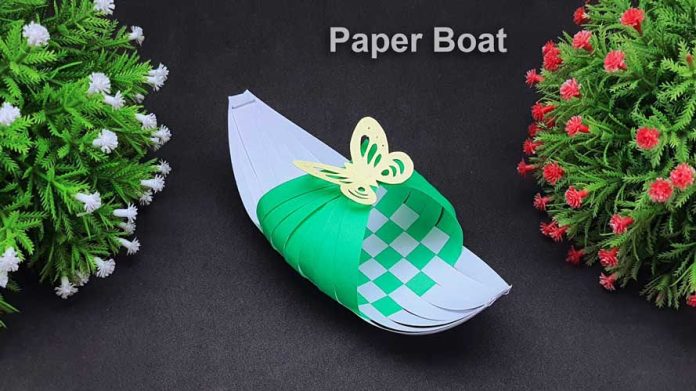
In this comprehensive guide, we will walk you through the step-by-step process of making a charming paper boat. Whether you’re looking for a fun craft activity or want to relive childhood memories, this easy tutorial will ensure your success. Get ready to embark on a creative journey and create your very own paper boat!
Step 1: Gather the Necessary Materials To get started, gather the following materials:
- A square piece of paper (preferably 8.5 x 11 inches)
- A ruler
- A pencil
- Scissors
- A flat surface to work on
Step 2: Prepare the Paper Lay the square piece of paper on a flat surface, making sure it’s positioned in a diamond shape. If you have a rectangular sheet, fold it diagonally to create a square before proceeding.
Step 3: Fold in Half Take the bottom corner of the diamond and fold it up to meet the top corner, creating a triangle shape. Make sure the edges are aligned perfectly before pressing down firmly to crease the fold.
Step 4: Create a Rectangle Shape Next, unfold the triangle, returning to the diamond shape. Take the left corner of the diamond and fold it over, aligning it with the right corner. This will create a rectangular shape.
Step 5: Make Diagonal Folds Fold the rectangle diagonally from one corner to the other, creating two triangles. Ensure that the edges align precisely and press down to crease the folds.
Step 6: Fold the Bottom Edges Take the bottom corner of one triangle and fold it up to meet the top corner, creating a smaller triangle. Repeat this step with the other triangle, ensuring both sides match.
Step 7: Form the Hull Hold the paper by the bottom corner of one triangle and carefully fold it upwards, aligning the edges to create a narrow rectangle shape. Repeat this step with the other side.
Step 8: Create the Sides With the narrow rectangle shape facing up, fold the top layer of the paper on one side downwards, aligning it with the bottom edge. Repeat this fold on the other side.
Step 9: Fold the Bottom Flaps Flip the paper over and fold the bottom flaps up, making sure they align with the sides you folded in the previous step. These flaps will become the sides of your paper boat.
Step 10: Final Touches Carefully flip the paper boat over and adjust the folds to ensure it stands upright and maintains its shape. Use your fingertips to gently press down and reinforce the folds if needed.
Conclusion:
Congratulations! You have successfully created a delightful paper boat step-by-step. Now it’s time to sail your imagination and relish the joy of your creation. Share this easy tutorial with friends and family, and encourage them to embark on their own paper boat-making adventure. Enjoy the simple pleasure of crafting and creating memories that will last a lifetime.


