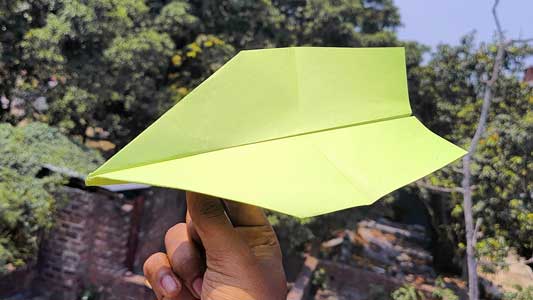
Origami, the traditional Japanese art of paper folding, offers endless possibilities for creativity. In this comprehensive step-by-step guide, we will walk you through the process of creating an origami flying plane. Get ready to embark on a journey of folding and launching your very own paper aircraft that soars through the air with elegance and grace.
Materials Needed:
Before we begin, gather the following materials:
- A square sheet of origami paper (preferably 6×6 inches)
- A flat and clean surface to work on
Step 1: Choosing the Right Paper: To ensure a successful origami flying plane, start with a square sheet of paper. Origami paper is ideal due to its lightweight and square shape, but any paper that can hold folds well can be used.
Step 2: Preparing the Paper: Place the square paper on a flat surface. If you’re using a rectangular sheet, fold one corner diagonally to create a square. Cut off the excess paper, leaving a perfect square.
Step 3: Folding the Initial Triangle: Fold the square diagonally, bringing one corner to meet the opposite corner. Crease the fold firmly, and then unfold it. This step creates a guideline for subsequent folds.
Step 4: Forming the Central Crease: Fold the paper in half horizontally, aligning the top edge with the bottom edge. This fold creates a central crease that will be useful in the later steps.
Step 5: Creating the Wing Folds: With the folded edge facing you, take the right corner and fold it towards the center crease, forming a diagonal fold. Repeat the same process with the left corner. This creates the wings of the plane.
Step 6: Folding the Wings: Unfold the previous folds made in Step 5. Fold each wing individually, aligning the outer edge with the central crease. This step creates the wing flaps that will give your plane stability.
Step 7: Shaping the Body: Fold the top portion of the paper downwards, aligning it with the bottom edge. This fold forms the body of the plane. Be sure to crease it firmly.
Step 8: Making the Wing Fins: On each side of the plane, fold the top corner towards the center, forming a small triangle. These wing fins add stability and help the plane maintain balance during flight.
Step 9: Final Touches: Gently fold the plane in half, wings facing outward. Make sure all the creases are well-defined. Run your fingers along the folds to sharpen them, making the plane more aerodynamic.
Step 10: Ready for Flight: Hold your origami flying plane by the body and gently launch it into the air. Adjust the wing flaps and wing fins if needed to achieve optimal flight performance. Experiment with different launch angles and techniques to maximize distance and height.
Conclusion: Congratulations! You have successfully created your very own origami flying plane. With practice, you can refine your folding technique and explore variations in design. Enjoy the art of origami as you embark on new folding adventures, creating beautiful and functional paper airplanes. Let your imagination take flight!


