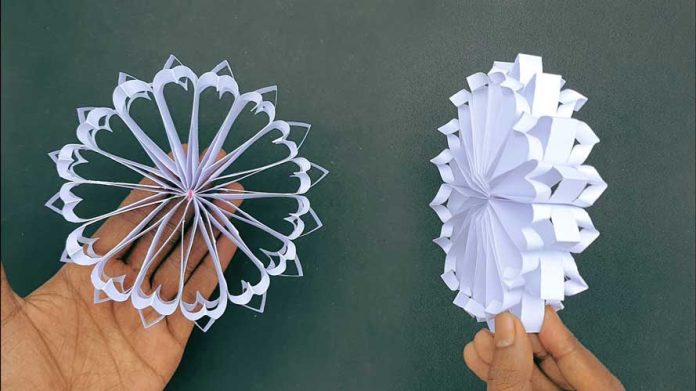
Paper flowers are a delightful and cost-effective way to add a touch of beauty and creativity to any space. Whether you’re looking to decorate your home, create unique party decorations, or gift a handmade bouquet, learning how to make 3D paper flowers is a skill that will bring joy and artistic flair to your life. In this comprehensive guide, we’ll take you through each step of the process, from selecting materials to assembling intricate floral designs. Let’s dive in and unlock the secrets of this captivating craft!
Step 1: Gather the Materials To embark on your 3D paper flower journey, you’ll need a few basic supplies. Here’s what you’ll need to get started:
- Colored paper or cardstock in various shades
- Scissors
- Glue or adhesive
- Pencil
- Floral wire or stems
- Optional: decorative elements like beads or ribbons
Step 2: Choose a Flower Design There are numerous types of flowers you can create with paper, including roses, daisies, tulips, and more. Decide on the flower you’d like to make and gather reference images or templates to guide you. You can find templates online or create your own by sketching the shape of the petals and leaves.
Step 3: Cut Out the Petals and Leaves Trace or print the petal and leaf templates onto your colored paper or cardstock. Carefully cut out each shape, ensuring precision in your cuts. Remember, the size and number of petals will vary depending on the flower you’ve chosen.
Step 4: Shape and Curl the Petals To give your paper flowers a realistic appearance, use a pencil to curl the edges of the petals gently. Roll the pencil along the edges, applying light pressure to create a curved effect. Experiment with different curling techniques to achieve the desired look for your flower.
Step 5: Assemble the Flower Begin assembling your 3D paper flower by layering the petals. Start with the largest petals as the base, applying glue or adhesive to the bottom of each petal and slightly overlapping them. Gradually work your way up, adding smaller petals with each layer. Secure each layer with glue, allowing it to dry before proceeding.
Step 6: Attach the Leaves Attach the paper leaves to the stem or floral wire using glue or adhesive. Position them strategically among the petals to enhance the overall visual appeal. You can shape the leaves by gently folding or curling them, adding a touch of realism to your creation.
Step 7: Add Extra Details If you want to elevate your 3D paper flowers further, consider adding extra details. You can embellish the center of the flower with beads, glitter, or tiny paper shapes. Experiment with different textures and colors to make your flowers truly unique.
Step 8: Display and Enjoy Once you’ve completed assembling your paper flowers, it’s time to display them proudly! Arrange your creations in a vase, create a stunning bouquet, or use them as decorative accents for gifts or events. Your imagination is the only limit when it comes to showcasing your beautiful paper flowers.
Conclusion: Learning how to make 3D paper flowers opens up a world of creativity and artistic expression. With just a few simple materials and a bit of patience, you can craft stunning floral masterpieces that will brighten any space. Remember, practice makes perfect, so don’t be discouraged if your initial attempts aren’t flawless. With each flower you create, you’ll refine your technique and discover new ways to add your personal touch. So, grab your scissors, gather your materials, and immerse yourself in the enchanting world of 3D paper flowers.


