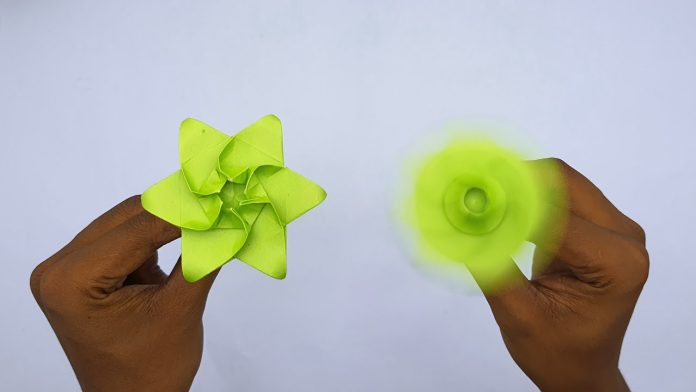
Paper pinwheels are a delightful and classic craft that brings joy to both children and adults alike. With just a few basic materials and some simple steps, you can create beautiful paper pinwheels to decorate your space or engage in a fun activity with your kids. In this step-by-step guide, we’ll walk you through the process of making a paper pinwheel, providing clear instructions along the way. So, let’s dive in and discover how to make a paper pinwheel easily!
Materials Needed:
- Square paper (preferably double-sided)
- Pencil or marker
- Ruler
- Scissors
- Push pin or thumbtack
- Stick or straw
- Decorative embellishments (optional)
Step 1: Prepare the Paper Start by selecting a square piece of paper. You can either use origami paper or create a square by cutting a rectangular piece of paper to size. A size of 6×6 inches or 15×15 cm works well. Ensure that the paper is double-sided, as it adds visual interest to the pinwheel.
Step 2: Mark the Paper Place the square paper on a flat surface, with one corner pointing towards you. Take a pencil or marker and mark the center of the paper by drawing an “X” from one corner to the opposite corner. This intersection will serve as a reference point for subsequent steps.
Step 3: Cut Along the Diagonals Using your ruler and scissors, cut along each diagonal line of the “X” marked on the paper. Be careful not to cut all the way to the center; leave about an inch (2.5 cm) uncut at the intersection.
Step 4: Fold the Corners Take one corner of the paper and fold it towards the center, aligning it with the marked intersection. Repeat this step for all four corners, bringing them to the center and ensuring that they overlap slightly. You can secure the overlapping corners with a dab of glue for extra stability if desired.
Step 5: Secure the Pinwheel Insert a push pin or thumbtack through the overlapping corners at the center of the pinwheel, making sure it goes through all the layers. Push the pin into a stick or straw, which will act as the pinwheel’s handle. Ensure the pinwheel spins freely by gently wiggling the pin.
Step 6: Add Decorative Touches (Optional) At this stage, you have a basic paper pinwheel ready for a spin. If you’d like to add a touch of creativity, consider decorating the pinwheel with additional embellishments. You can glue sequins, beads, or small cutouts to the pinwheel’s corners or attach colorful ribbons to the stick.
Step 7: Enjoy Your Paper Pinwheel Now that your paper pinwheel is complete, take it outdoors or find a breezy spot indoors. Blow on the pinwheel or let the wind do its magic, and watch as it spins merrily. You can create multiple pinwheels using different colors and sizes to make a vibrant display or use them as party decorations.
Conclusion: Making paper pinwheels is an enjoyable and straightforward craft that can be shared with friends, family, or even enjoyed as a solo activity. With just a few basic materials and these step-by-step instructions, you can create beautiful pinwheels that bring whimsy and cheer to any occasion. So, gather your supplies, unleash your creativity, and have fun making paper pinwheels!


