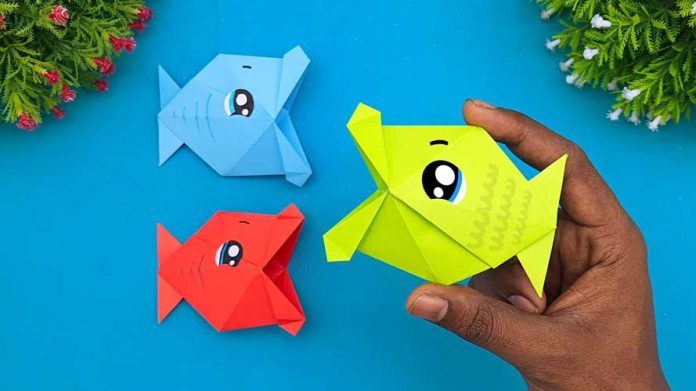
Unleash your inner artist and embark on a whimsical journey with this step-by-step guide on creating charming paper talking fish. This delightful DIY project is not only a fun craft for all ages but also a fantastic way to add a touch of underwater magic to your surroundings. Get ready to dive into the world of imagination and bring your very own paper talking fish to life.
Materials Needed:
- Colored paper or cardstock
- Pencil
- Scissors
- Craft glue
- Googly eyes
- Markers or colored pencils
- Craft sticks or popsicle sticks
- Small paper or cardboard scraps
- Single-hole punch
- String or fishing line (optional for hanging)
Step 1: Gather Your Supplies Start by collecting all the materials needed for this creative endeavor. Choose an array of vibrant colored papers to give your talking fish a lively appearance. Ensure you have a comfortable and well-lit workspace for an enjoyable crafting experience.
Step 2: Draw and Cut Out Fish Shapes Using a pencil, draw the outline of fish shapes on your colored paper or cardstock. Feel free to experiment with different fish species, sizes, and tail shapes. Once you’re satisfied with your designs, carefully cut out the fish shapes, ensuring smooth and clean edges.
Step 3: Create Mouth Flaps To make your paper fish talk, create a small flap near the mouth area. This flap will serve as the “jaw” of your talking fish. Cut a small rectangle or oval shape from the fish’s head, leaving a hinge at the bottom. This will allow the mouth to open and close easily.
Step 4: Decorate Your Fish Let your creativity shine by decorating your paper fish. Add patterns, scales, and fins using markers or colored pencils. Glue on googly eyes to give your fish a playful and animated expression. This step is where you can personalize your talking fish and make it uniquely yours.
Step 5: Attach Craft Sticks Flip your decorated fish over and attach craft sticks or popsicle sticks to the back using craft glue. Ensure that the sticks are securely attached to provide support when your fish is in action. These sticks will serve as handles, allowing you to manipulate the fish’s movement.
Step 6: Punch a Hole for Hanging (Optional) If you want to hang your paper talking fish, use a single-hole punch to create a hole near the top of the fish. Thread a string or fishing line through the hole and tie a knot to create a loop for hanging.
Step 7: Bring Your Fish to Life Hold the craft stick handles and gently open and close the mouth flap to make your paper talking fish “talk.” Experiment with different voices and movements to add character to your creation. Have fun with your newfound aquatic friend!
Conclusion: You’ve successfully crafted your very own paper talking fish – a delightful addition to any imaginative play or decorative display. This simple and entertaining DIY project is perfect for family crafting sessions, classroom activities, or just a relaxing afternoon of creative expression. Dive into the world of crafty possibilities and let your paper talking fish become a charming conversation starter in your home. Happy crafting!


